Maximise your storage potential with DIY box dividers!

You’d be surprised how much of a difference adding dividers to a box can make. All of a sudden you can go from a box fit only for paper to one that can safely transport a dozen bottles of wine!
They are great for organising clothing, jewellery, paint samples and essential oils.
Dividers are like adding little boxes within boxes and they are a great way to make your boxes more suitable for the storage of fragile items.
There's a few options for how to make your own dividers:
You can reach out to local wineries, restaurants and bottleshops and ask them if you can use their wine dividers. These split boxes into 12 Bottle sized sections. Create your own compact wine cellar, store spray cans or cleaning supplies.
You can also make your own dividers with a box cutter and some old cardboard. Wrap them up for a nice textile finish. It’s perfect for storing leftover material and clothing in neat little rolls. No more creases. We'll show you how to do that in the instructions below!
For even sturdier dividers you can make your own out of plywood. This requires some specialist tools and is a great little task for amateur carpenters.

thehandymansdaughter.com
Easy peasy cardboard box dividers

For cardboard box dividers you will need:
- Some cardboard which is the length and width of your required box
- A marker or texta
- A box cutter or scissors
- A cute and colourful fabric
- Hot glue gun or stapler
- A sturdy box to put it in.
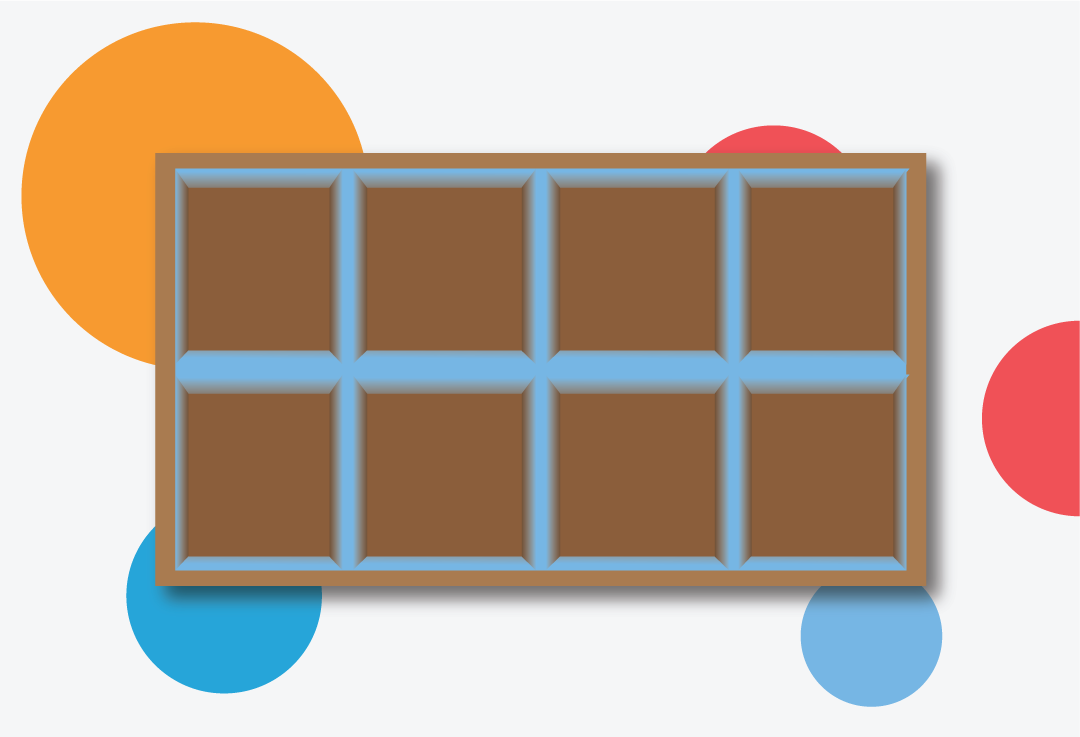
1. Take your cardboard and cut it into the number of pieces you want for your configuration. If you would like a simple 3x3 configuration with 9 compartments you will need just 4 pieces of cardboard. Make sure they are all the same height.
2. On each piece of cardboard draw a line about a third of the way down. Mark another line 2 thirds down. Make sure that all your lines are in the same spots and the same width on all your pieces of cardboard.
3. Using a box cutter or scissors cut along each of the lines you have drawn. Make sure not to cut all the way across the width of your cardboard. About one third will do. If you are going to be wrapping your dividers in fabric make sure to make your cut a little bit wider.
4. Place your cardboard pieces on the back of your fabric and trace around the edge with a marker. Then take your scissors and cut around the outline. Make sure to cut a little bit wider so there is an over hang this will make the gluing easier. Cut one for each side of the divider. So if you have 4 dividers, cut 8 pieces of fabric.
5. Use the hot glue gun to put some glue around the edge of the cardboard divider. Then take your fabric and press it into the glue. Repeat on the other side as well so your dividers are now nice and colourful. If the notches in your cardboard are a bit covered up by fabric, give them a little trim with the scissors to open them up again.
6. Align your dividers into a grid shape and interlock the notches you have cut. The dividers will slide snugly into place.
7. Place inside your archive box or draws for easy organised compartments!
Sturdy plywood dividers

For these dividers you will need:
- Box or crate of any size
- A sheet of 12mm plywood
- Make sure it is a width and length suitable for your box
- Measuring tape
- Clamps
- Jigsaw
- Sandpaper
- Paint
1. Measure up and cut.
Take your chosen box and measure how you would like your divider grid to be set out.
If you choose to use an A4 archive box like the ones we sell at archiveboxes.com.au, you can follow this guide.
For a box with 20 compartments you will want to cut 4x30.5cm pieces and 3x38.5cm pieces from your 12mm Plywood. You can cut them at whatever depth you like. For taller dividers try a depth of 25cm.

2. Happy with your configuration? Time to cut it
Clamp your plywood so it won't move and use an electric jigsaw to carefully cut out your pieces.


3. Fit and finish
Once you've cut out all your pieces, If you wish to paint it now is a good time to do so.
Once you've painted, dried and sanded your pieces you can fit them together and place them into your box.

Hey presto now you can organise your home like never before!


